Painted Cork Coasters
I've got an easy DIY for you all today.
Ever since pinning this & this I wanted to try my hand at painting some coasters of my own {original sources can be found here & here}. Nothing fancy, just something simple.
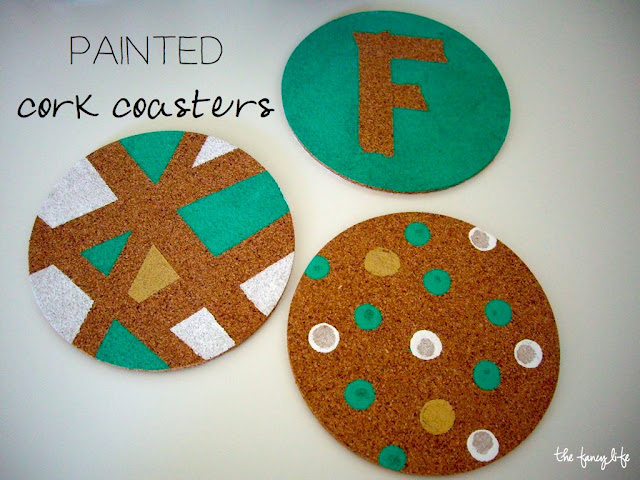
I finally got around to it & here's how they turned out:
The process was easy. All you need:
- Cork Coasters {I found mine at Michael's for under $4}
- Paint {I used gold left over from this project, green & white - all these I had on hand}
- Paint Brushes
- Masking Tape/Painters Tape/Washi Tape {I used washi tape, it's what I had on hand}
Like I said I went with simple painting. Stripes, polka dots & an "F" for our last name.
To make:
- Simply use your tape to tape off a design you want & paint over it.
I took the tape off when the paint was still slightly wet & then let the coasters finish drying. I also only did one coat of paint. I kind of like how a bit of the cork can be seen under the paint.
- For the polka dots I just did free hand by using the wooden ends of some sponge paint brushes I had. Again, I only did one coat.
- Once they were completely dry I flipped them over and did a design on the back.
I was going to apply Mod Podge {or a sealer of some sort} but then I didn't. I got to using them the next day. I haven't had any problems with the paint running or anything. I may still seal them somehow & if I do I'll let ya know how that goes.
You may have noticed a peek of one in this post last week.
So far so good. Cute, simple, and useful.
Hope you all enjoyed your weekend!
---------------------------------------------------------------------------------------------
I've linked this post up to the Pinterest Challenge with Megan, Katie, Sherry & Michelle!
---------------------------------------------------------------------------------------------
I've linked this post up to the Pinterest Challenge with Megan, Katie, Sherry & Michelle!


These turned out really cute.
ReplyDeleteAngie G.
Thanks, Angie :)
Delete